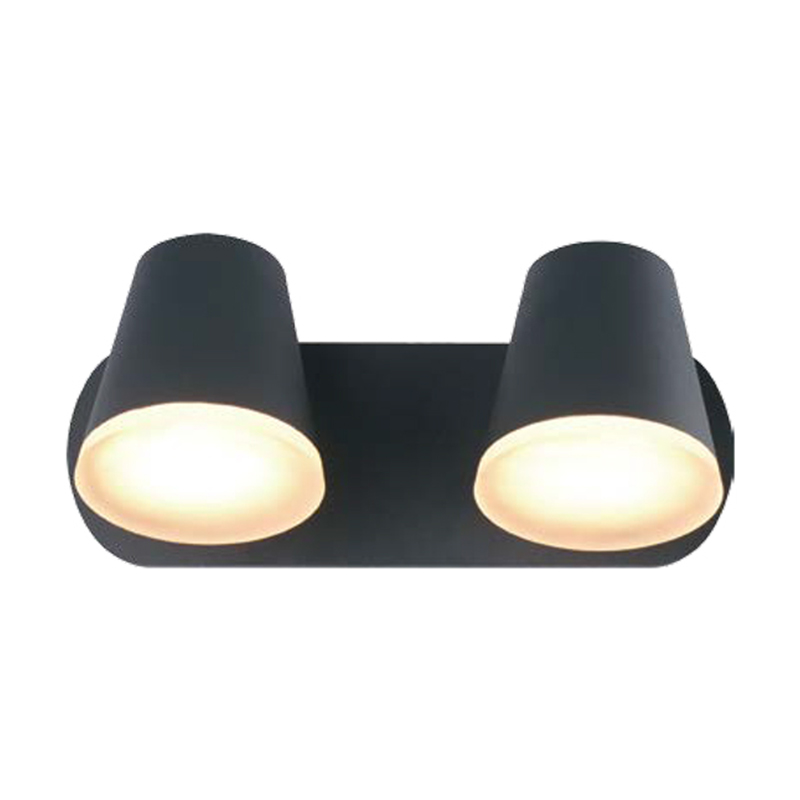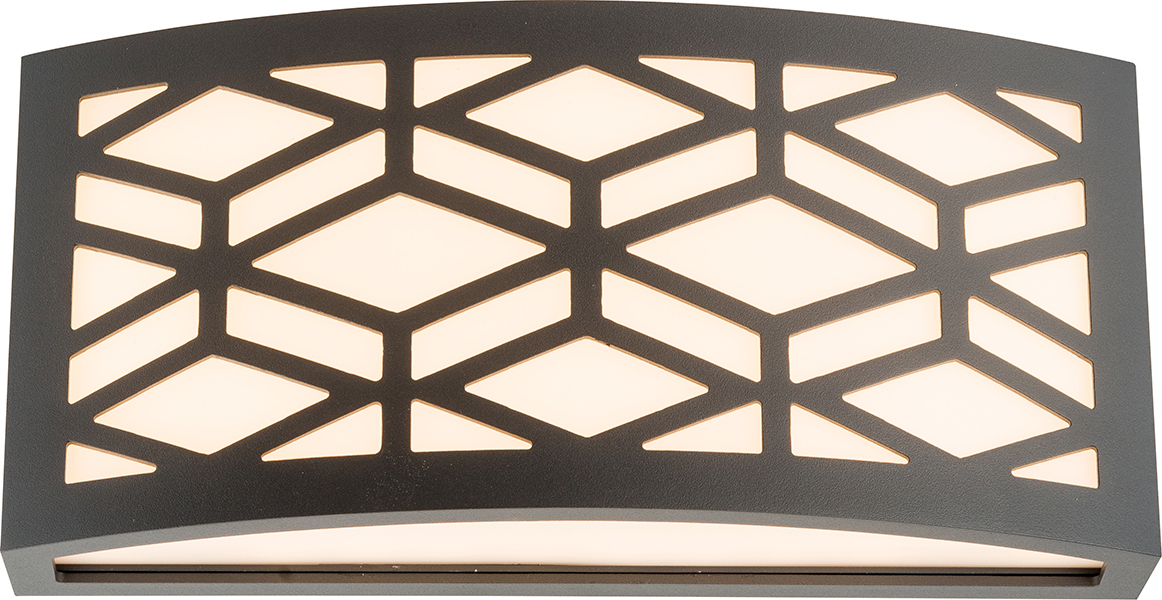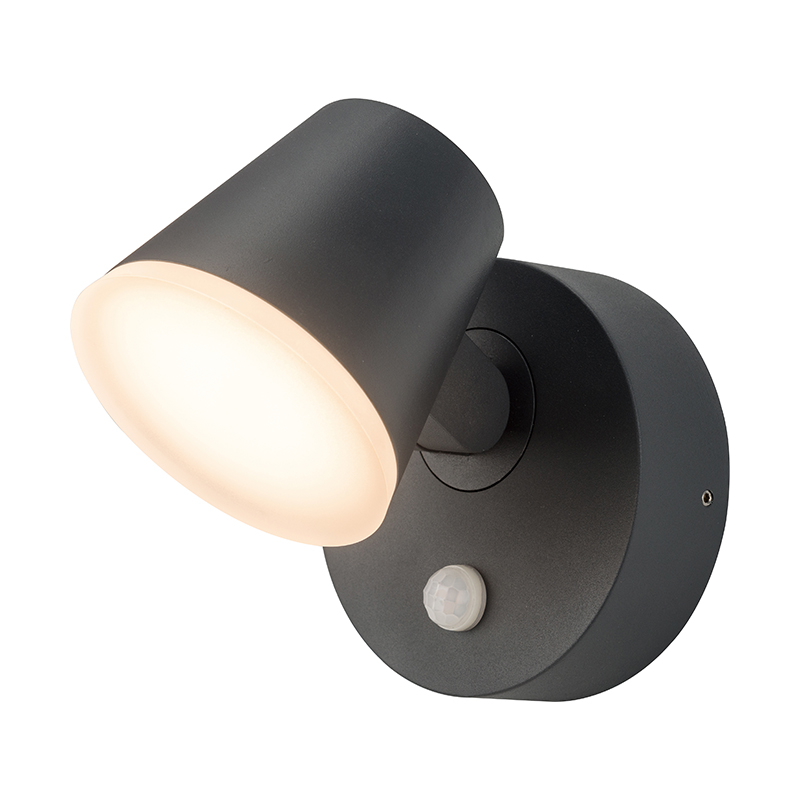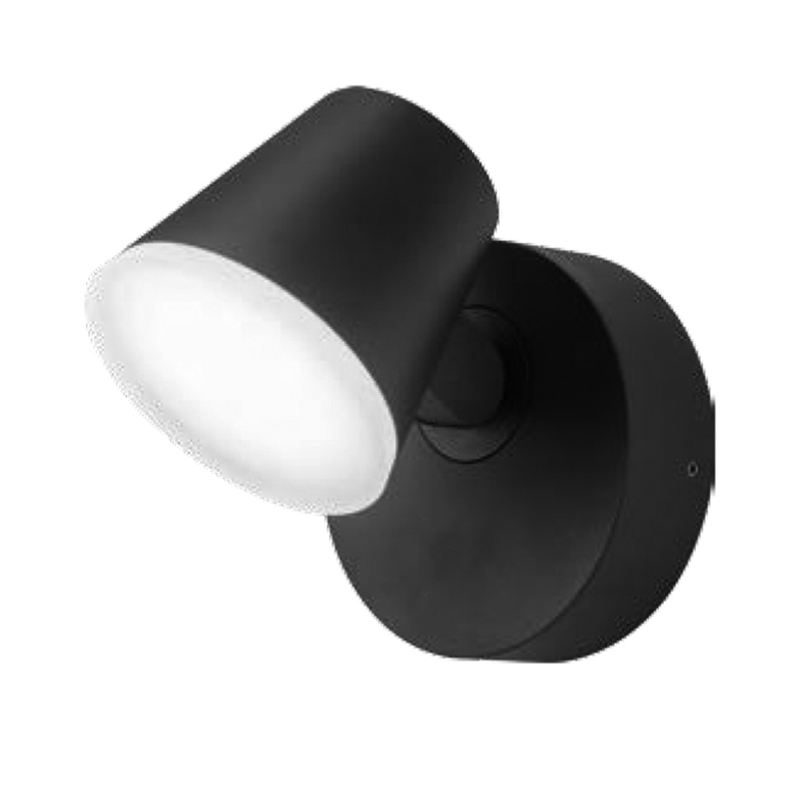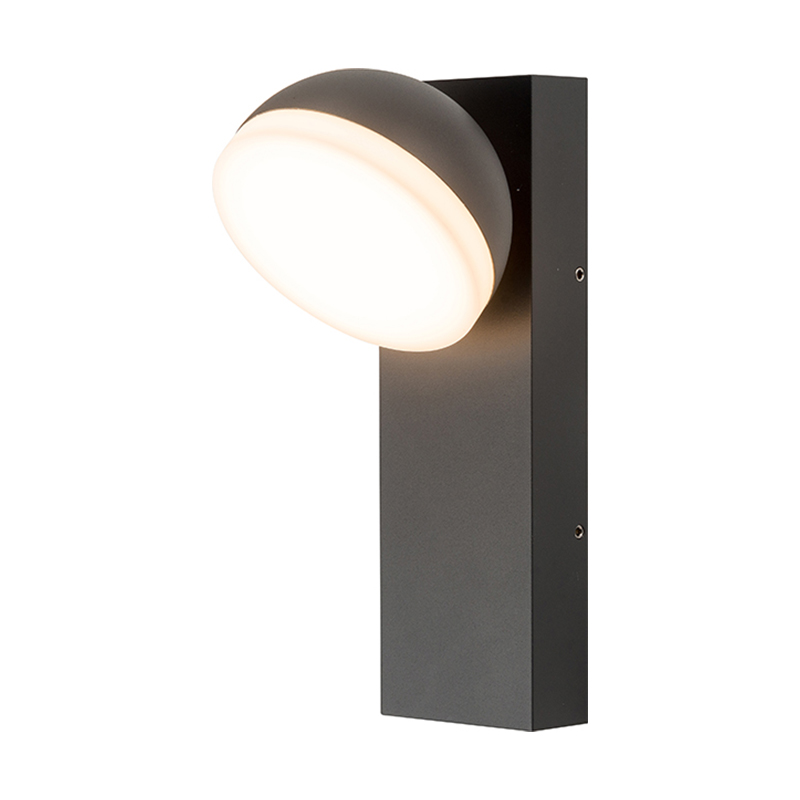
How to Install LED Outdoor Solar Lights for Maximum Efficiency
1. Choose the right location
Sunlight exposure:
The performance of solar lights is highly dependent on how much solar energy they receive. Before installing, make sure to choose locations that are exposed to at least 6-8 hours of direct sunlight throughout the day. This ensures that they are fully charged during the day and provide sufficient brightness at night.
Avoid shadowed areas:
Install lights in places that avoid shadows from trees, buildings, or other obstructions. If lights are blocked during the day, they will not be fully charged, which will affect the brightness at night. Therefore, ensure that they have direct access to sunlight.
Light direction:
The installation location should not only consider sunlight exposure, but also the direction you want the light to shine. For example, path lights need to illuminate a walkway, and landscape lights may need to illuminate garden decorations or specific areas. Think ahead and determine the location of the lights so that you can achieve the best lighting effect.
2. Choose the right type of solar light
Spotlights:
Spotlights are a good choice if you want to focus on a specific area or object (such as a tree, sculpture, or architectural feature). They usually emit a strong beam of light to help highlight landscape elements.
Floodlights: Floodlights are suitable for broadly illuminating a large area, such as a driveway, patio, or garden. They usually emit a wide range of light and are suitable for providing comprehensive lighting.
Pathway Lights: Pathway lights are designed to illuminate paths, walkways, and around flower beds. They are relatively low in brightness, but can provide soft light to the surrounding area, adding beauty and safety.
Decorative Lights: These lights not only provide basic lighting, but also decorate and beautify your outdoor space. For example, string lights or ground lights with colored lights can create a romantic atmosphere.
3. Check whether ground fixing is required
Ground lights: If you are using ground lights with insertion stakes, make sure the ground is soft enough to insert the stakes. If the ground is hard, you can use a small hammer or drill to gently drill a small hole first. Avoid installing in hard or rocky areas to prevent the lights from being firmly fixed.
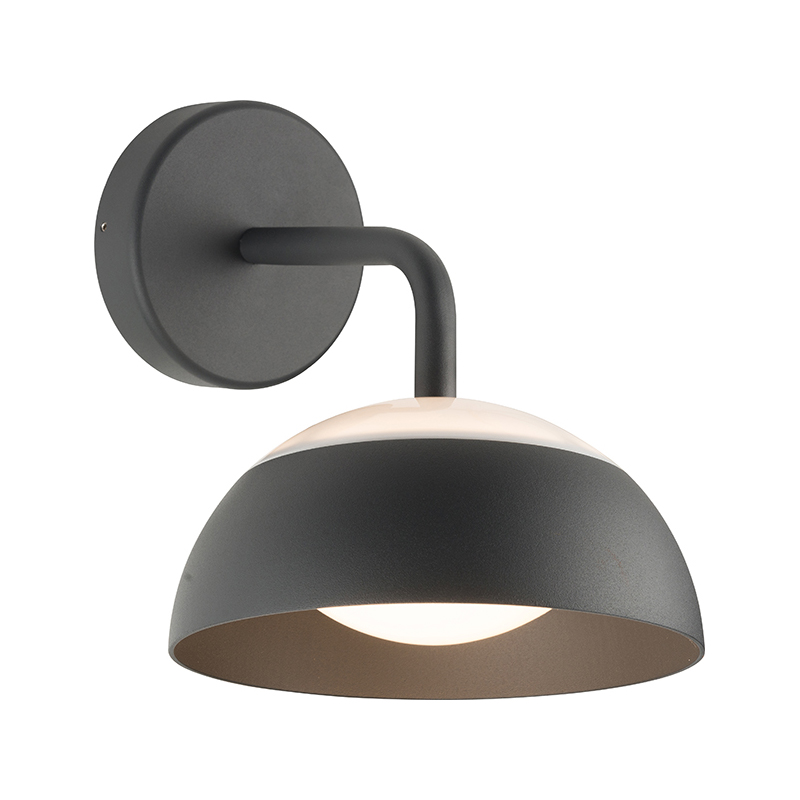
Wall or hanging lights: For wall-mounted or hanging solar lights, you need to make sure the installation location is stable and safe, such as a wall, fence, or pole. Drill holes in the wall and use expansion screws to fix the lights to ensure that the lights are stable and will not be blown off by the wind.
4. Test the lights before installation
Before officially installing, it is best to place the solar lights in the intended location for testing. This will ensure that the lights are working properly and can automatically light up in the dark and charge through the solar panel during the day. During the test, if the lights do not light up at night, it may be that the solar cells are not fully charged or the installation location is not suitable.
5. Ensure the correct installation of the solar panel
Solar panel orientation: Solar lights usually have panels that absorb sunlight and convert it into electricity. Make sure the panels are not blocked by anything and must face the direction of direct sunlight. If you are using a light with a separate panel, you can install the panel in the place where it can receive the most sunlight, such as on the roof, fence, or bracket.
Panel angle adjustment: Some solar lights offer adjustable panels, allowing you to adjust the angle of the panel to get the best sunlight reception according to seasonal changes. Typically, in the summer, the panels can be tilted slightly to ensure maximum sunlight absorption throughout the day.
6. Fix the light in place
Ground lights: If your solar light has a stake, make sure to insert the stake into soft soil or grass to ensure that it is firmly inserted. If the soil is too hard, you may need to loosen the soil before inserting the stake.
Wall lights: For wall-mounted or other types of lights that need to be fixed to the wall, you can use screws or mounting brackets. Make sure the light is firmly fixed to avoid loosening due to wind or vibration after installation.
7. Set the timer or photosensitive switch
Some solar lights have built-in timers or photosensitive sensors that can automatically adjust the light on and off according to the ambient light. If the light has a photosensitive switch, make sure it is facing the right direction so that it can accurately sense day and night and automatically turn on or off.
If the light has a timer function, set the time as needed. For example, you can set the light to automatically turn on at dusk and turn off at a certain time in the early morning to avoid wasting batteries when it continues to work during the day when there is sufficient light.
8. Check the battery and charging effect
Clean the solar panel: After long-term use, the solar panel may accumulate dust or dirt, which affects the charging efficiency. Check and clean the panel regularly, use a soft cloth and mild soapy water to wipe gently, and avoid using strong chemical cleaners, which may damage the panel.
Check the battery health: Most solar lights come with rechargeable batteries, and the service life of these batteries is generally 1-3 years. If you find that the light is dimming or not lighting up, it may be that the battery is old and needs to be replaced with a new one.
9. Optimize the light angle
Many solar lights have adjustable light heads, allowing you to adjust the direction of the light as needed. You can adjust the angle of the beam according to your needs to ensure that there are no dead spots in the illuminated area.
Test the lighting coverage: After the installation is completed, it is best to test the lighting effect at night to see if it meets your needs. If you find that some areas are not illuminated enough, you can adjust the position or angle of the lamp to ensure the best lighting effect.
10. Monitor performance and adjust as needed
Seasonal adjustments: In winter, when the sunlight is shorter, you may need to adjust the position of the solar panel to ensure that it receives more sunlight during the day. Consider moving the panel to a sunny location.
Replace batteries regularly: Batteries in solar lights age over time. If you notice that the light is getting dimmer or the battery is not charging, you should replace the battery.
Product Category
News Category
- Detailed information
 Emily: emily@cn-hangjia.com
+86-158 8806 3776
 Fanny: fanny@cn-hangjia.com
+86-134 8422 9778
 Tina
: tina@cn-hangjia.com
+86-159 5829 3091
 Address : East Industrial Park Linshan Town Yuyao City Zhejiang Province

 English
 中文简体
中文简体